

Before You Start
- Warm up first. Walk around or march in place for a few minutes.
- Film yourself if you can. Prop your phone up facing you. Plenty of things you can’t feel, like a knee drifting inward, are obvious on video.
- Test both sides. Differences between sides tell you as much as the movement itself.
- Stop if anything causes sharp pain. Discomfort from tight muscles is normal, but sharp, pinching, or worsening pain is not. If a test hurts that way, stop and mark it red.
These tests are a screening tool, not a diagnosis. They can tell you whether something deserves a closer look, but they can’t tell you why.
Test 1: Bodyweight Squat
Watch the demo:
Watch the bodyweight squat demonstration →
How to Do It
Stand with your feet about shoulder-width apart and toes turned slightly out. Squat down as low as you comfortably can, then stand back up. Do 5 reps.
What It Tests
Hip flexion, plus how well your hips, knees, and ankles work together under your body weight.
How to Score Your Results
GREEN: Moving Well
You get below parallel, your heels stay down, your knees track over your toes, and you feel no pinching in the front of your hips.
YELLOW: Needs Attention
You reach parallel but not below, your heels lift, your knees drift inward, or you shift toward one side.
RED: Get It Checked
You can’t reach parallel, or you feel pinching or pain in the front of the hip.
Test 2: 90/90 Hip Switches
Watch the demo:
Watch the 90/90 hip switches demonstration →
How to Do It
Sit on the floor with both knees bent to 90 degrees, one leg in front of you and one out to the side. Keeping your feet planted, rotate both knees to the other side. Do 5 switches each direction.
What It Tests
Hip rotation, both internal and external, on both sides. Rotation is the motion people lose first and notice last.
As you switch, pay attention to your sitting bone, the bony point under each glute. Notice how far it lifts off the floor and whether it’s the same on both sides. A front-facing video makes this easy to see.
How to Score Your Results
GREEN: Moving Well
You switch without using your hands, both knees reach the floor, your sitting bones stay close to the floor, and both sides look and feel the same.
YELLOW: Needs Attention
You need your hands or have to lean way back to switch, one knee doesn’t reach the floor, or one sitting bone lifts noticeably higher than the other.
RED: Get It Checked
You can’t get into the position or switch sides, both sitting bones lift well off the floor, or the movement causes pain in the hip.
Test 3: Lunge
Watch the demo:
Watch the lunge demonstration →
How to Do It
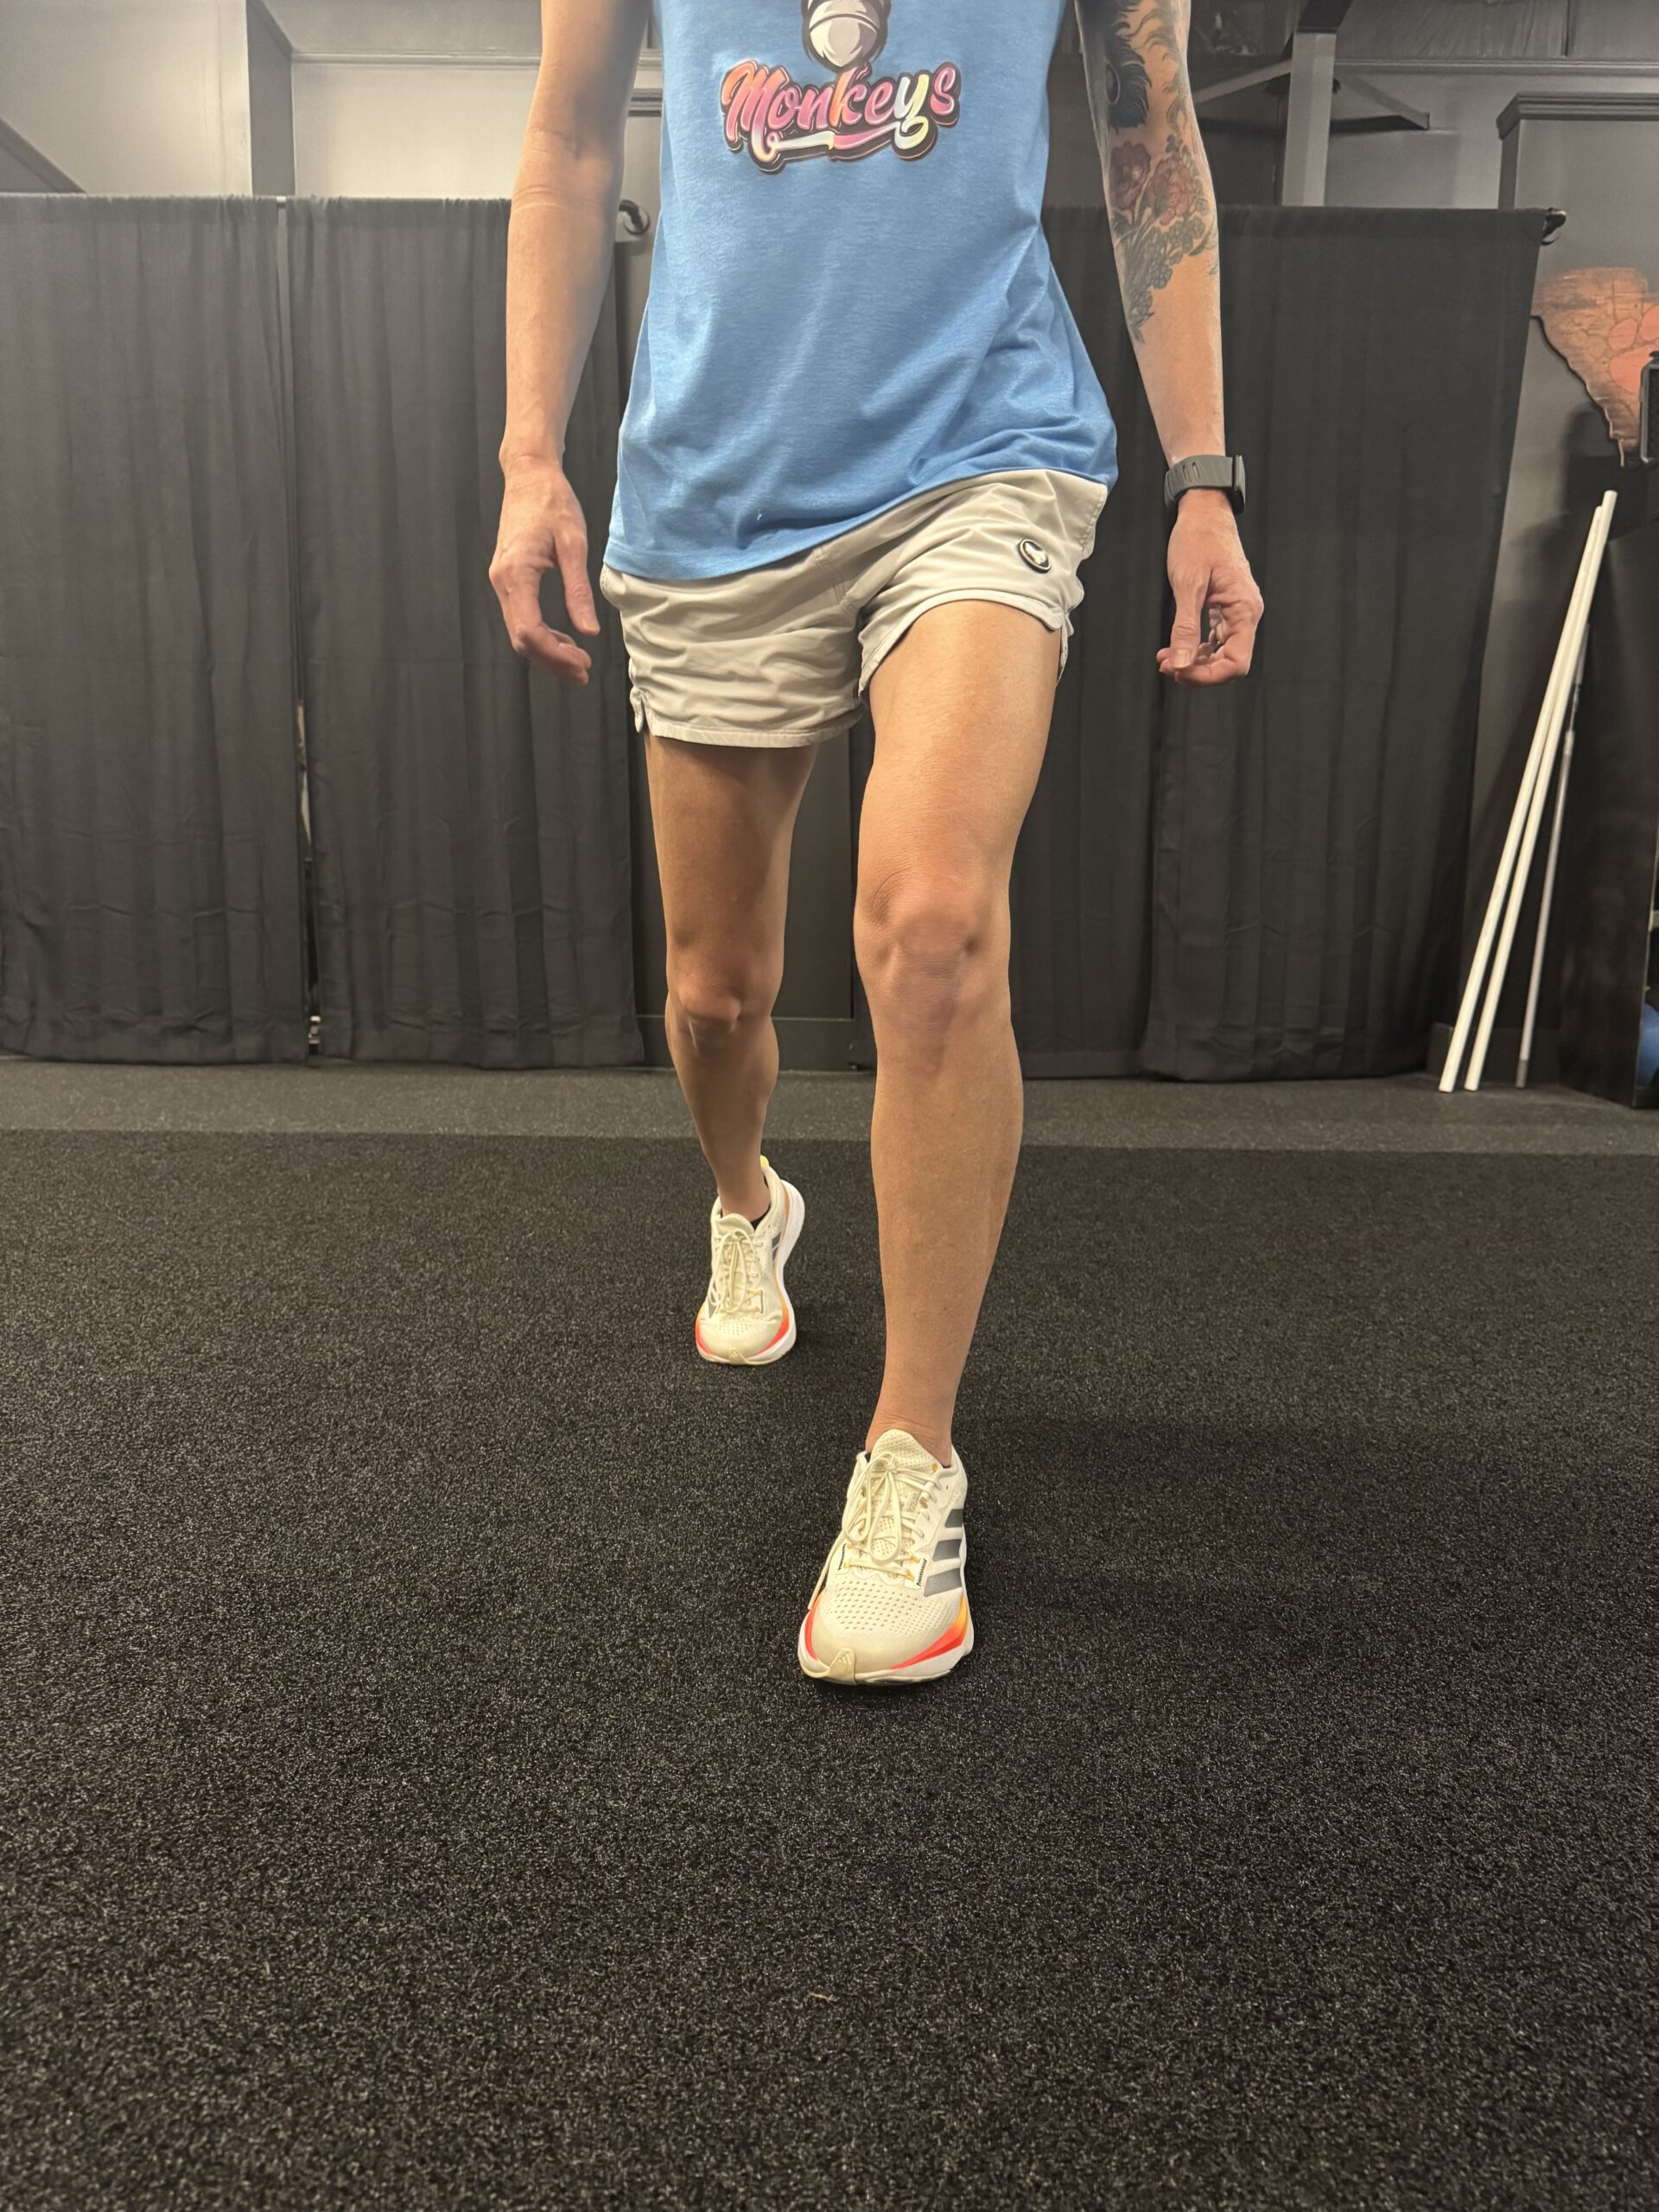
Step into a lunge and lower your back knee toward the floor, then return to standing. Do 5 reps on each leg.
What It Tests
Single-leg strength and control, plus hip flexor length on the back leg.
How to Score Your Results
GREEN: Moving Well
You stay steady, your front knee tracks over your toes, your pelvis stays level, and both sides feel the same.
YELLOW: Needs Attention
You wobble, your front knee drifts inward, your pelvis tilts, or one side is noticeably harder.
RED: Get It Checked
You lose your balance, can’t complete the reps, or feel pain in the hip.
Test 4: Step-Up
Watch the demo:
Watch the step-up demonstration →
How to Do It
Use a 6–8 inch box or step, whatever you have available. Place one foot on the step and drive up until you’re standing on top, then step back down with control. Do 5 reps on each leg.
What It Tests
Glute strength and pelvic control on one leg. That’s the same control your hip needs every time you run, climb stairs, or hike uphill.
How to Score Your Results
GREEN: Moving Well
You drive up through the top leg, your hips stay level, your knee tracks over your toes, and you don’t push off with the bottom foot.
YELLOW: Needs Attention
The opposite hip drops, your knee drifts inward, or you need a small push from the bottom foot.
RED: Get It Checked
You can’t step up without pushing off the bottom foot or grabbing something for help, or the movement causes pain.
What Your Results Mean
All Green: Keep Going
Your hips are moving and working well. Keep training, and next week’s exercises will help you stay that way.
Any Yellow: Pay Attention
Something isn’t moving or working the way it should. It may not hurt yet, but a yellow result is a reason to pay attention to your movement and control. Your body may be finding workarounds that deserve a closer look.
Any Red: Get a Proper Assessment
Pain, a big side-to-side difference, or a movement you can’t complete deserves a proper assessment, not a guess.
Remember: these results are screening indicators, not a diagnosis. A yellow or red result does not automatically mean you have an injury.
Got a Yellow or Red?
These tests show you what is off. They don’t show you why. A knee caving in during a step-up could come from glute weakness, limited hip rotation, an ankle problem, or the low back, and each of those needs a different fix.
At Progressive Mobility, we start with a full 60-minute, one-on-one assessment that looks at the whole picture, not just the spot that hurts. We also use VALD DynaMo and ForceDecks testing to measure hip strength and side-to-side differences precisely, so we’re working from numbers, not guesses.
Next Monday in Part 3, we’ll walk through the stretches and exercises we use most often with patients who have hip dysfunction.
